Accept Apple Pay in Your Business Now. It’s Easy!
Apple Pay is Apple’s proprietary digital wallet payment system, which utilizes the Apple Wallet installed stock on all iPhones, iPads, and all MacBooks with built-in touch ID. Digital wallets like Apple Pay allow users to load all of their payment cards (and even some loyalty cards) into their devices in digital format, eliminating the need to carry a wallet stuffed full with physical cards that can be lost or stolen.
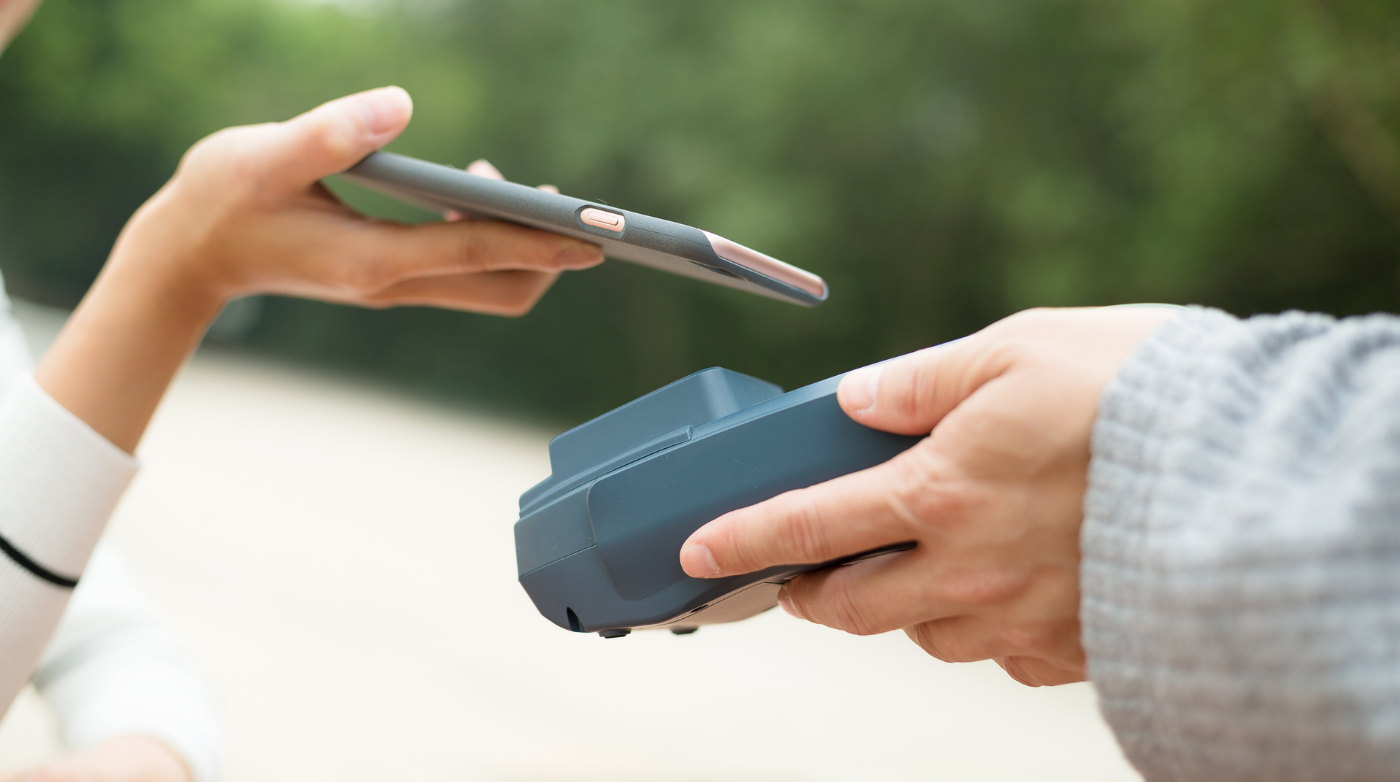
Users can make purchases with Apple Pay in two ways. In-store, they can wave their phone over a compatible payment terminal and have the purchase automatically charged to their default payment card. Online, they can click the Apple Pay button to bypass the traditional checkout altogether, enabling purchases to be made in seconds without the need to log in or type in any payment details. In both cases, the payment action is accompanied by a quick thumb or face scan using Touch ID or Face ID, providing a biometric security verification that is effectively foolproof.
In mid-2020, iOS overtook Android as the most used operating system on smartphones in the U.S, with 52.4% of the market. That means over half of all smartphone users have access to Apple Pay, without even taking into account iPad and MacBook users. Between the ease of use, heightened security, and enormous potential userbase, it’s no surprise that adoption of Apple Pay is growing rapidly – so rapidly that it is expected to account for 10% of all card transactions by 2025. That makes it a must-have for merchants looking to ensure consumers have access to the contactless payment options they seek in a post-pandemic world.
How to Accept Apple Pay in Your Brick-and-Mortar Store
If you’re a traditional B&M merchant looking to accept Apple Pay in your store, good news: Apple Pay and other top digital wallets work out-of-the-box with most modern contactless payment hardware, so you may not have to do anything at all. If you do need to take action, it may be as simple as making a quick phone call. In any case, there is arguably no easier in-store payment method to set up than Apple Pay, making adopting it an easy choice.
1) Determine What Kind of Payment Hardware You Have
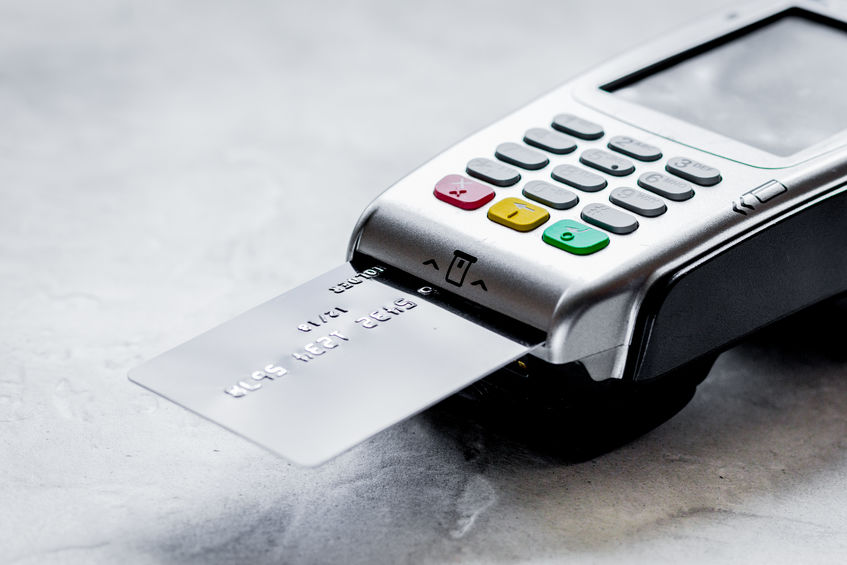
Apple Pay requires contactless payment terminals capable of handling nearfield communications, or NFC. NFC is similar to the RFID technology that allows chip-enabled credit cards to be tapped instead of inserted or swiped. If your contactless payment terminals are already NFC-enabled, you may be able to accept Apple Pay right away with no further action required. However, if your payment terminals are not contactless or can’t communicate with NFC, then you’ll need to contact your merchant services provider to upgrade your hardware. That’s a good idea anyway since contactless payments as a whole are rapidly becoming a consumer favorite.
2) Make Sure Your Terminal Has the Right Software
Once you’ve determined that your payment hardware is NFC-enabled, you’ll need to ensure that it’s running on up-to-date software capable of interfacing with Apple Pay. The vast majority of newer contactless payment terminals are updated, but some older NFC-enabled units may need a software upgrade. The best move is to contact your merchant services provider and tell them you’re looking to accept Apple Pay. If software upgrades are required, getting them done is simple. If they aren’t, you can start accepting right away.
3) Inform Your Customers About Apple Pay
The final step is to ensure your existing and potential customers know that they can use it! The best way to do that is to order a signage kit directly from Apple. Signage kits are free and include countertop cards, posters, decals, window cling sheets, and an employee reference manual. Making your Apple Pay acceptance highly visible is a great way to reach out to a younger consumer base and show your customers that their convenience and security are your priority.
How to Accept Apple Pay in Your Ecommerce Store
Accepting Apple Pay online is almost as easy as accepting it in-store, thanks to stock integrations with many top ecommerce platforms. There are a few guidelines and requirements you’ll have to ensure you’ve met, but once that’s done, adding Apple Pay to your store may take nothing more than a few clicks.
1) Ensure Your Site Meets the Acceptable Use Guidelines and Security Requirements
In order to ensure the safety of consumers and the integrity of their brand, Apple lays out some requirements that merchants have to meet to be able to accept Apple Pay online. First, merchants must comply with the Apple Pay Acceptable Use Guidelines. The guidelines outline all prohibited uses and also offer some branding and design guidelines as well. Restricted uses unsurprisingly cover sites that engage in fraud, discrimination, or IP infringement, but there is also a full list of product categories banned from the service, ranging from tobacco to firearms to pornography and beyond. The vast, vast majority of online merchants will have no trouble complying with Apple’s guidelines but it’s worth reading them over just to be safe.
On the security side, web pages including Apple Pay must be served via HTTPS, meaning they need TLS or SSL encryption. If that sounds complex, don’t worry – if you’re using a major ecommerce platform like BigCommerce, Shopify, WooCommerce, Magneto, or others, then your store likely already has this encryption built-in. However, if you’re unsure, the best thing to do is fire off an email to your ecommerce company or merchant services provider and ask.
2) Check to See If Your Ecommerce Software Offers One-Click Apple Pay Integration
Once you’re ready to put Apple Pay to work, the first thing to do is to find out how your ecommerce platform integrates it. Many top ecommerce systems offer easy Apple Pay integration, sometimes making it as easy as clicking a single button in the backend payments area. Ecommerce platforms that include built-in Apple Pay integration include:
- BigCommerce
- GoDaddy
- IBM
- Miva
- Salesforce
- Shopify
- Squarespace
- Volusion
- WooCommerce
Check the help materials offered by your ecommerce platform provider. In the best-case scenario, you may be able to turn on Apple Pay with a click or two. In the worst-case scenario, you might have to create an Apple Pay Merchant ID or jump through some other minor hoops.
3) Engage a Developer for Custom Integrations if Necessary
In rare cases or instances where you’re looking to custom-build an Apple Pay integration into your website or mobile app, you may need to work with Apple’s API directly. If that’s the case, the project is complex enough that it likely warrants reaching out to a developer to handle the integration for you. But, unless a custom-built integration is absolutely necessary, most merchants would be far better off adopting an Apple Pay-enabled ecommerce platform instead.
One of the easiest ways to get set up with Apple Pay both online and in-store is to ensure you’re partnered with a merchant services provider offering strong Apple Pay support. BAMS offers a full suite of compatible payment hardware, and our team has the expertise necessary to help you ensure your store meets all of Apple’s security and acceptable use requirements, and that your ecommerce systems are fully optimized for digital wallets. On top of all that, our interchange-plus pricing model offers the most transparent and guaranteed-lowest pricing in the industry, ensuring that your merchant statements will shrink while your payment options expand.
To find out more about how BAMS can help you begin accepting digital wallets while simultaneously shaving down your transaction fees, get started with your free five-point price comparison today.


